Hey everyone, here is my Vandin Huttball Warzone Guide. It is Star Wars The Old Republic’s third Huttball Warzone Map. The layout is loosely based on the original Huttball Map. But, it has a few little extra traps and tools.
This map was introduced to SWTOR on the 2nd of October 2018 in Game Update 5.9.3.
Note – Screenshots are from 5.0.
This Guide was last UPDATED: 23rd April 2022
Basics
The Skyshredder is based on the original Huttball Map. It has the same basic layout but is larger and there are more complicated paths and traps to navigate to get to the enemy line. You have 45 seconds to pass the ball or score it resets (kills you!)
Match Length is 10 minutes (this was introduced in Game Update 5.9.2).
Detailed Map Overview
Navigating your way around this map is a little different to the original Huttball. It has some of the same features including walkways and pits near each end zone. but it also has an assortment of traps familiar and unfamiliar.
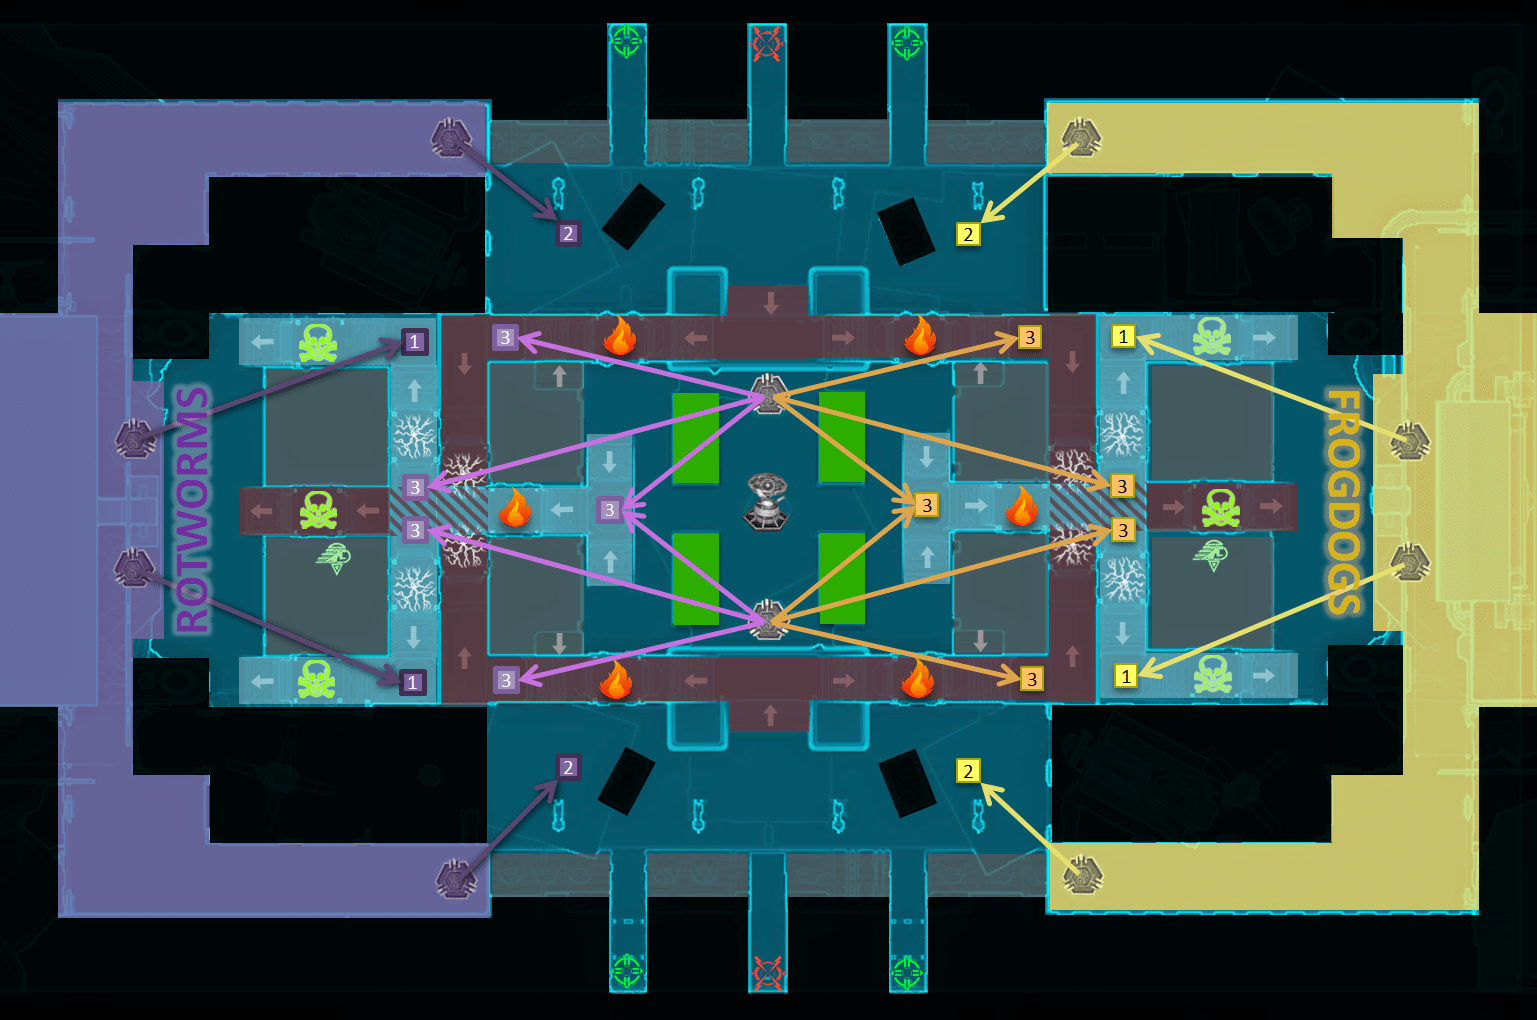
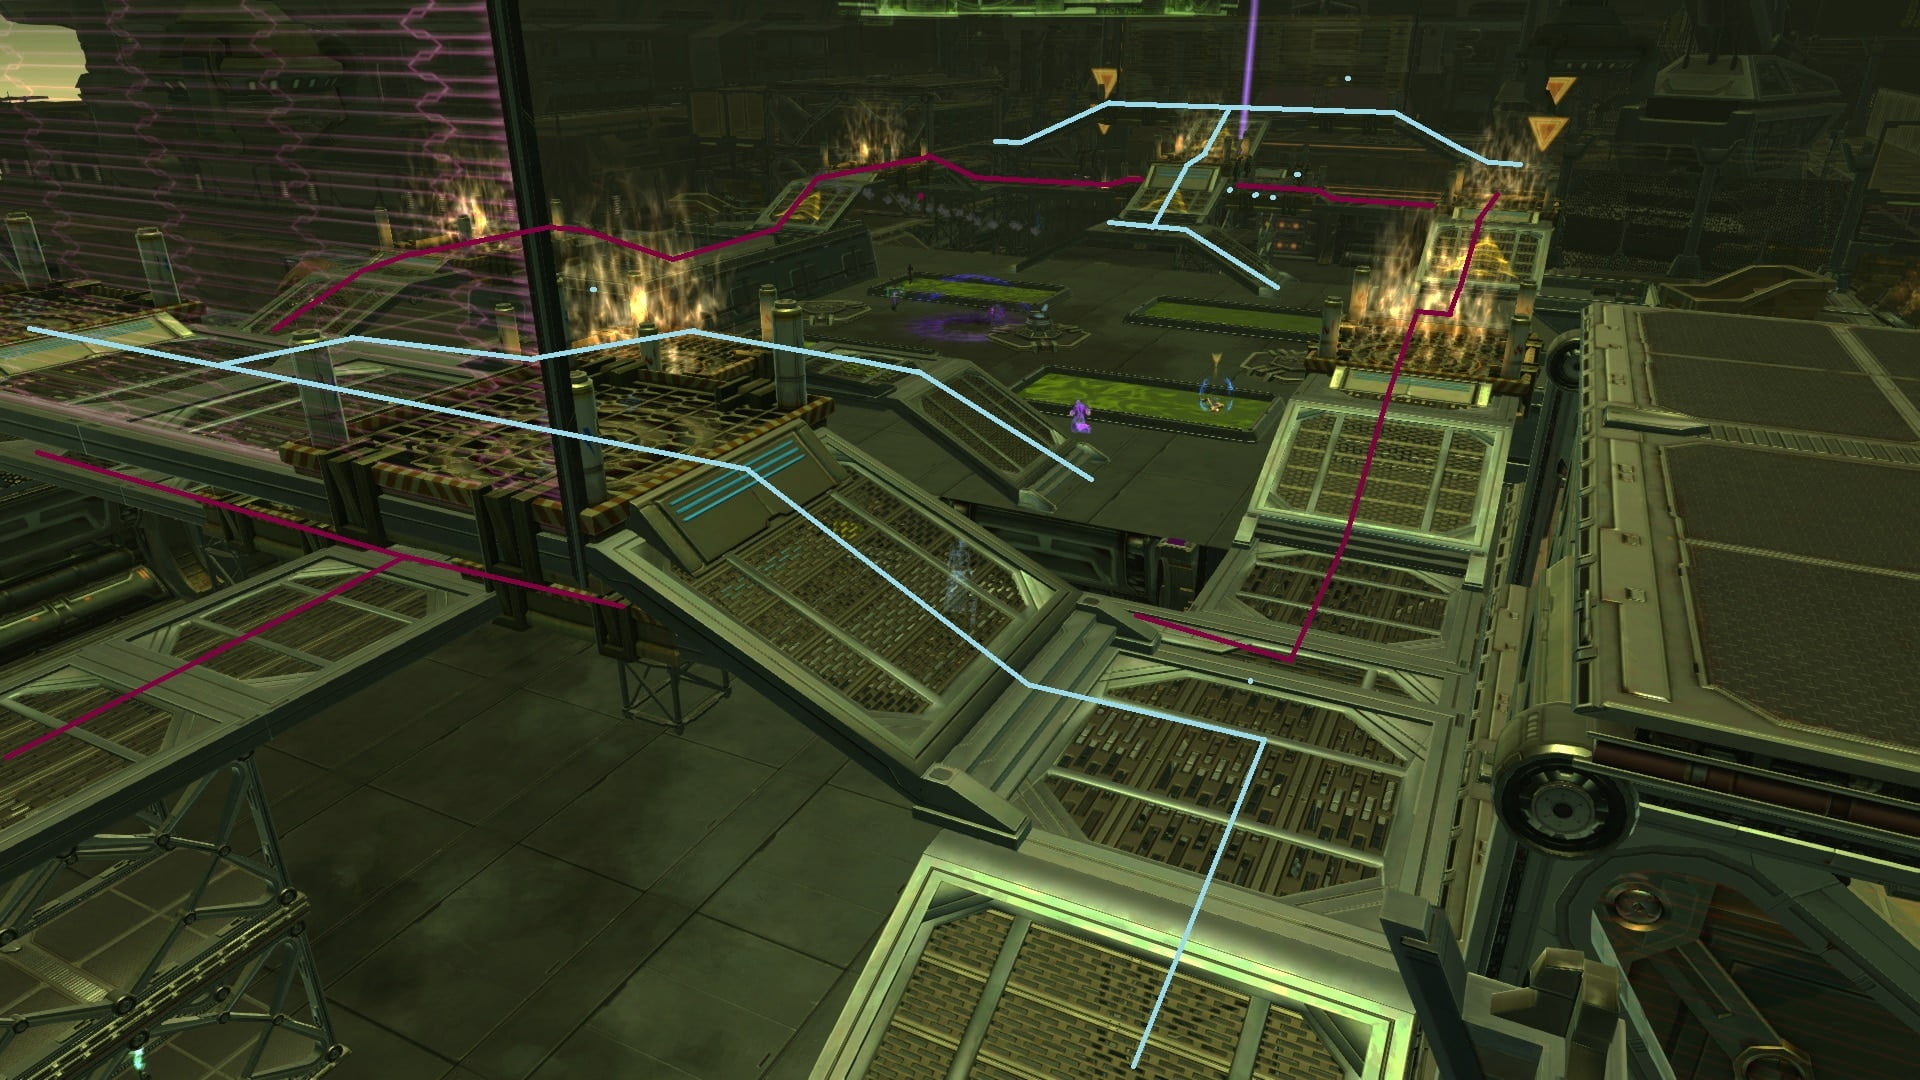
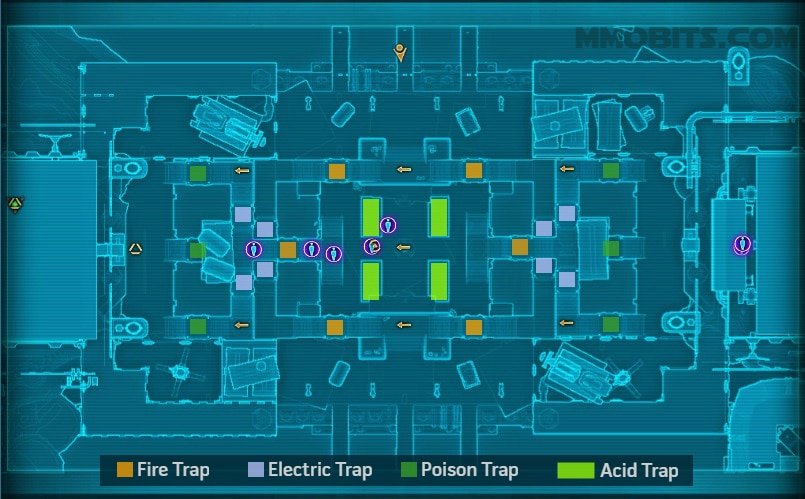
Here is a map showing everything of relevance (thank you very much to Theho for letting me use this map they made!)
- Green Skull – Poison
- Flame – Fire Trap
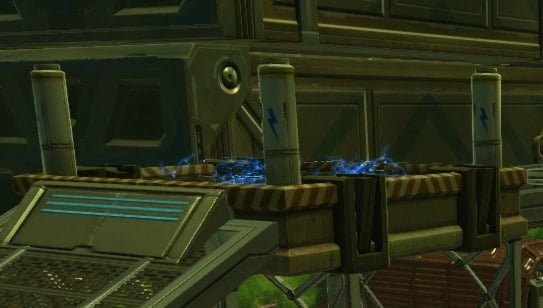
- Lightning – Electric Traps
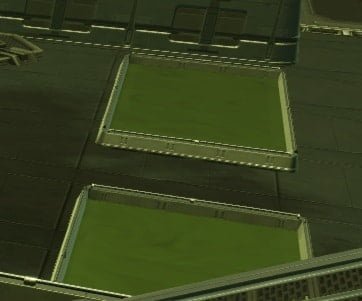
- Green Rectangles – Acid Traps/Pools
Traps
The Fire and Acid Traps work the same here as they do in the original Huttball. More information on Traps can be found below.
- (New) Electric Traps – stuns you in place and does a small tick of damage.
- (New) Poison Traps – apply a dot to you that does major damage. It is healable (if you’re really quick!)
Walkways
There are two primary walkways. The one marked in maroon on the map and the one marked in light blue. The light blue walkway is above the maroon walkway.

Jump Pads/Air Vents
- Spawn Air Vents – take you to a specific spot as indicated on the above map.
- Side Air Vents – take you to a specific spot as indicated on the above map.
- Central Air Vents – these work differently from the others. There are four different locations these vents will place you (at random) defensively depending on which team you’re on as indicated on the map. Using a Central Air Vent could place you in a position that makes it easier for the enemy team to leap to you, and in turn, skip some traps. So be careful!
Note: using the Spawn Air Vents is the fastest way to get to mid!
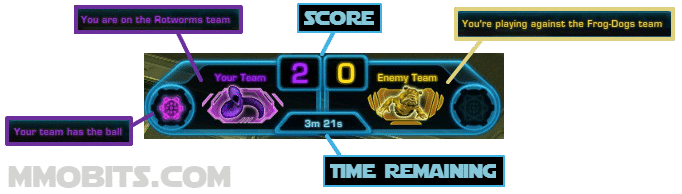
Scoreboard
The scoreboard is the same as any other Huttball Map.
Scoring
It is basically a one-man Capture the Flag except it’s a ball and not a flag. In other words, it is like Football (US & Rugby) where the aim is to take the ball to the enemy’s line to score. However, there are multiple paths to navigate to get to the line but there are also traps to slow you down and even kill you if you’re not too careful.
If you do not pass the ball within 45 seconds, the ball explodes and you die, resetting the ball in mid (this was introduced in Game Update 5.9.2).
The first Team to score 10 points wins but if one team scores 6 points higher than the other team, the match ends. For example in a 6-0 scenario, the match will end. (Increasing the max score to 10 was introduced in Game Update 5.9.2). The match length is a maximum of 10 minutes.
Traps and Hazards
There are a number of traps and hazards to look out for.
- Fire Traps – do major damage that will kill you in seconds if you stay in too long (same as ones in original Huttball).
- Acid Traps – do gradual damage but is only lethal if you stay in the pool too long (same as ones in the original Huttball Map). There are four small pools of acid surrounding the Huttball Stand.
- NEW! Electric Traps – stuns you in place for a short duration and does an initial small tick in damage. They’re more annoying than anything and do make you a prime target for enemy players.
- NEW! Poison Traps – puts a dot on you that does 3-4 massive ticks in damage. It will almost certainly kill you. A combination of excellent, on-point burst healing and using a healing-centric cooldown may help you survive the damage.

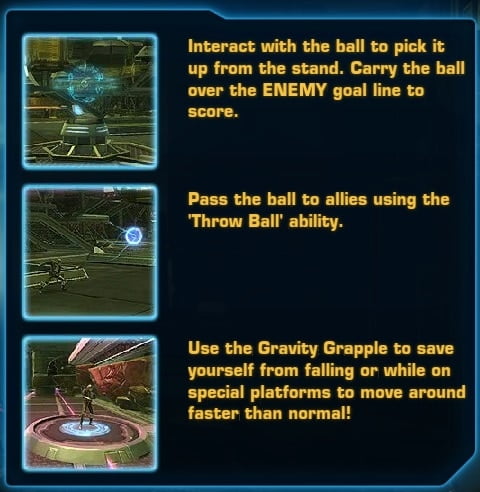
Grappling Hook
It is possible to get completely knocked off some sections of the Map. To combat this, you are given a Grapple Hook. It shows up on your temporary ability bar. If you also have the Huttball, it will show up to the right of the “Throw the Huttball’ Ability. You should be able to use the grapple hook even if you are ‘incapacitated’ from a knockback or push.
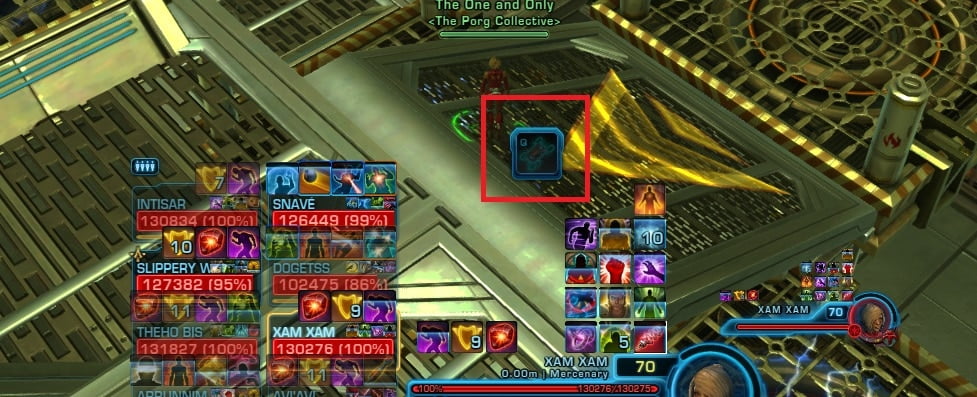
You can also use the Grapple Hook to get out of the pits. All you have to do is stand on one of the platforms and use the grapple ability. Once you use it, it goes on a 45-second cooldown. There are four platforms; two in each of the pits below both scorelines.

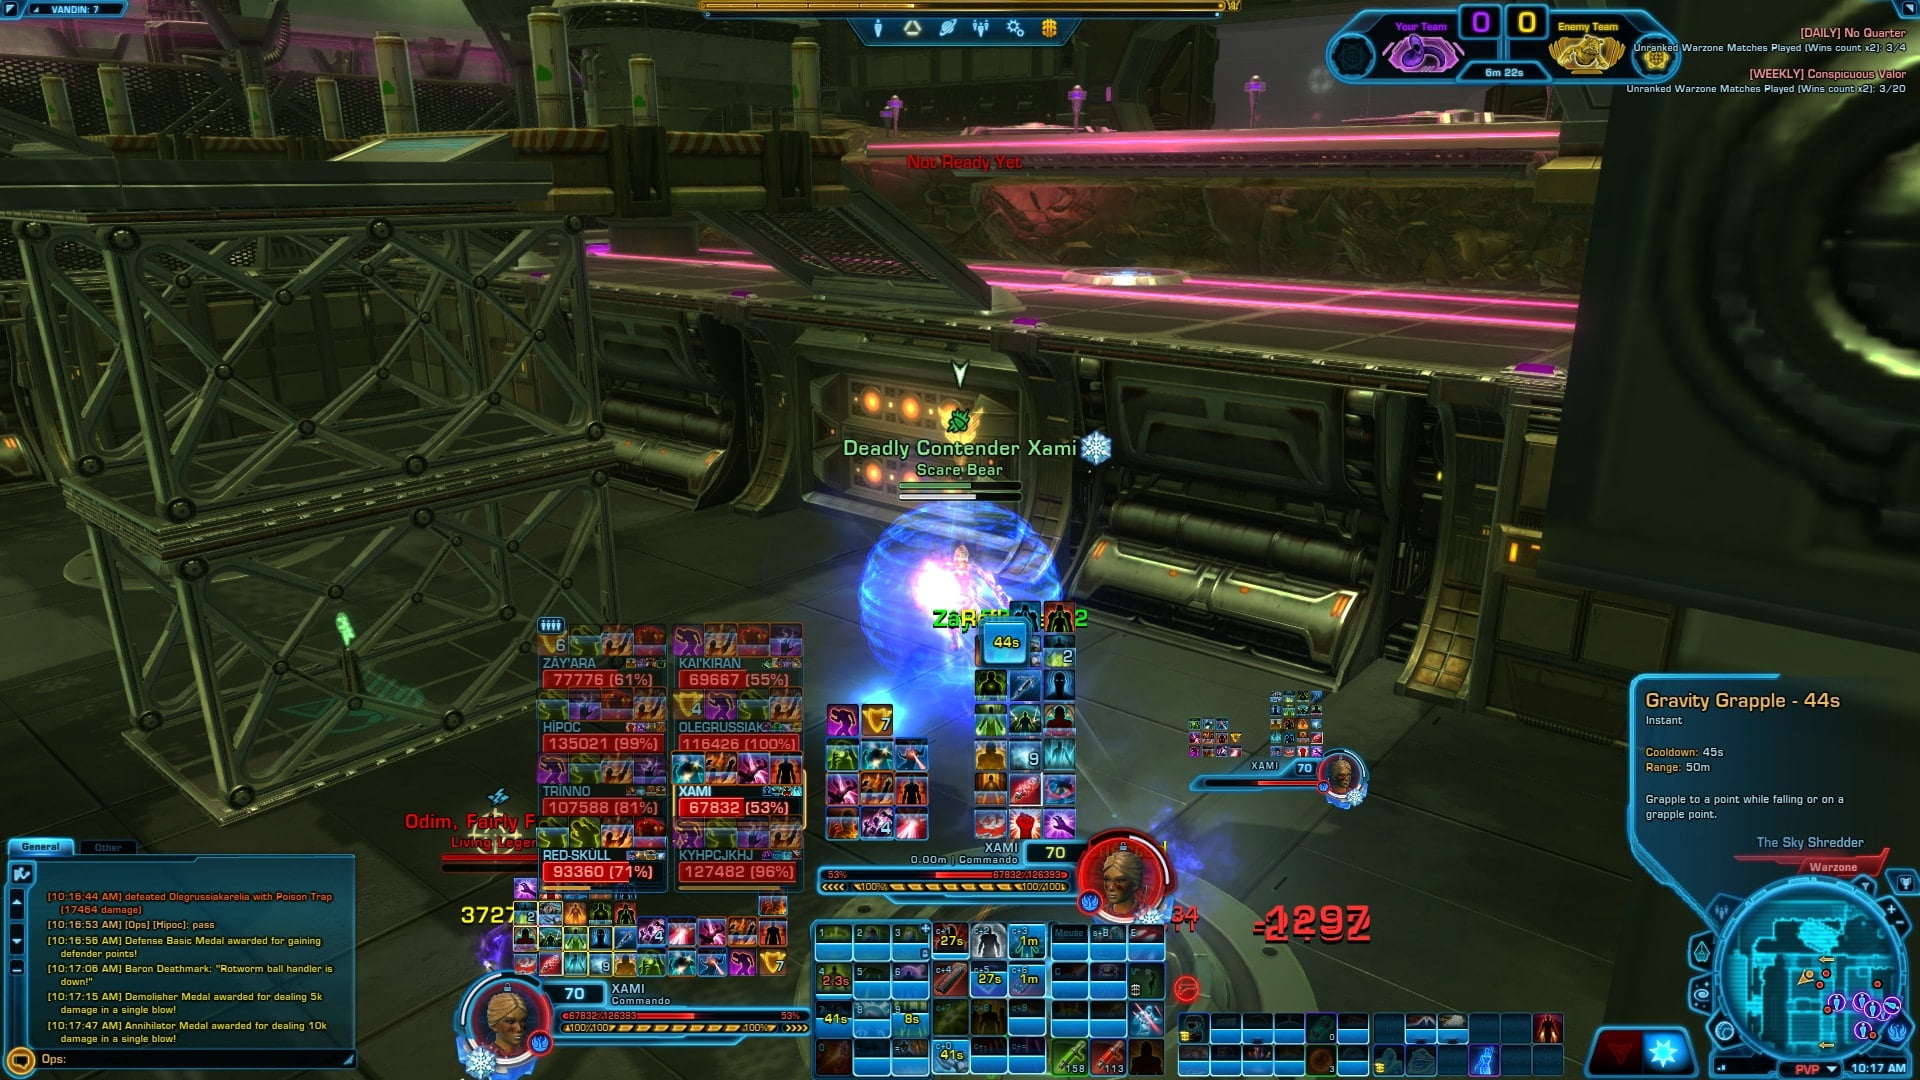
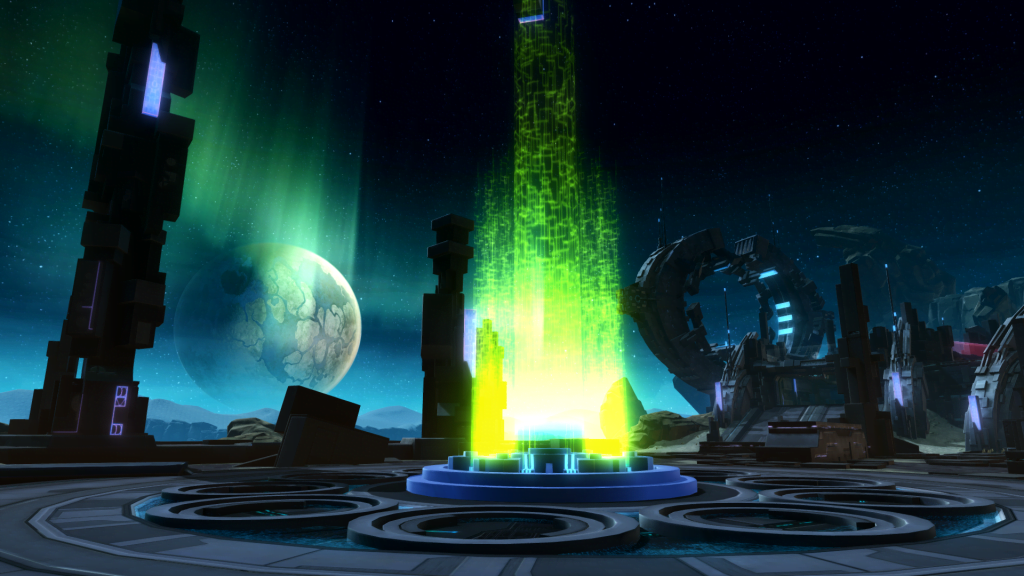
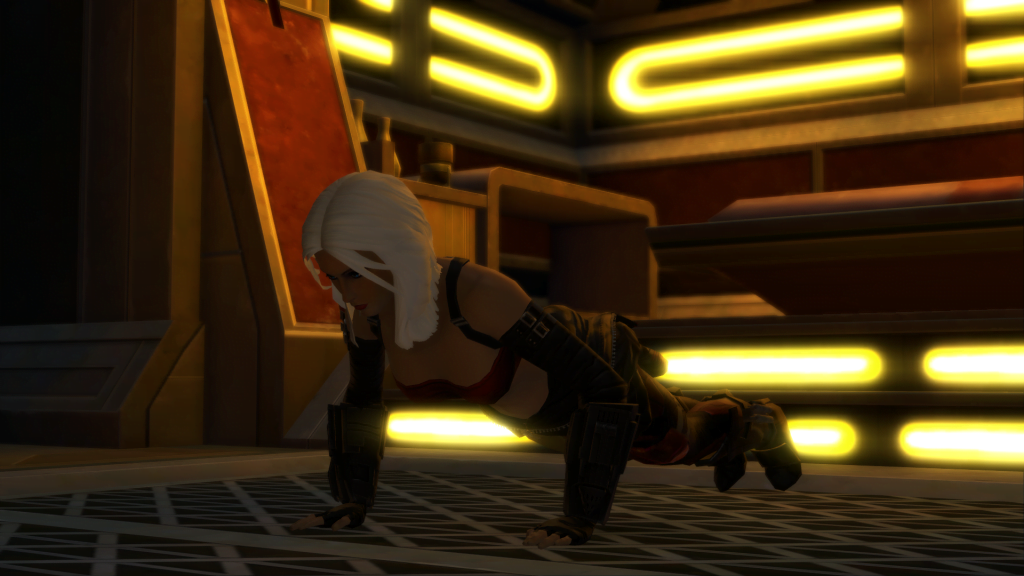
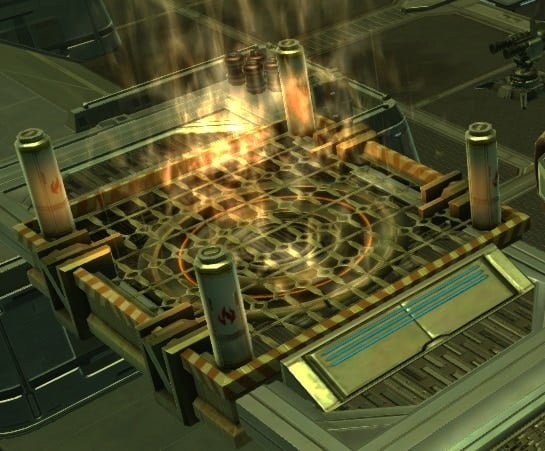
Screenshots
Here are a few screenshots of the map (these screenshots do not show grapple platforms in pits).